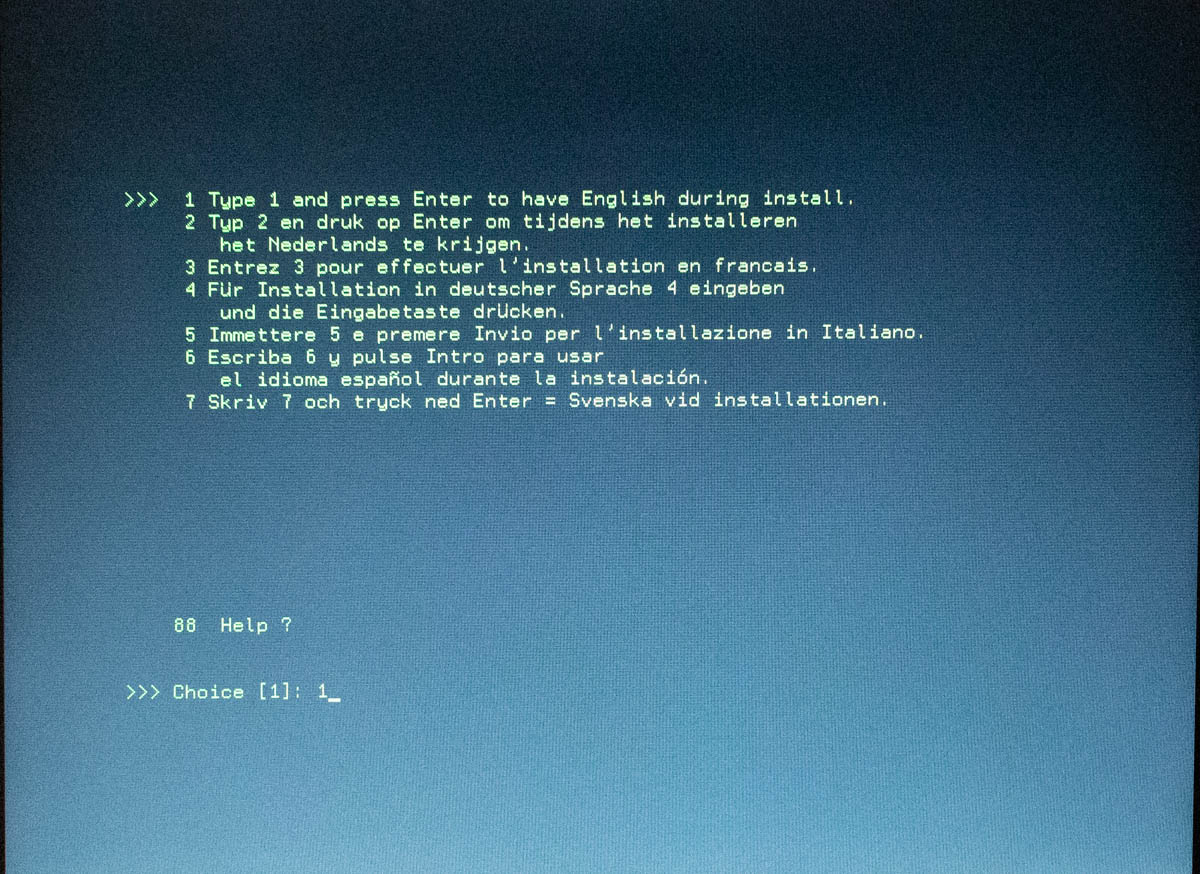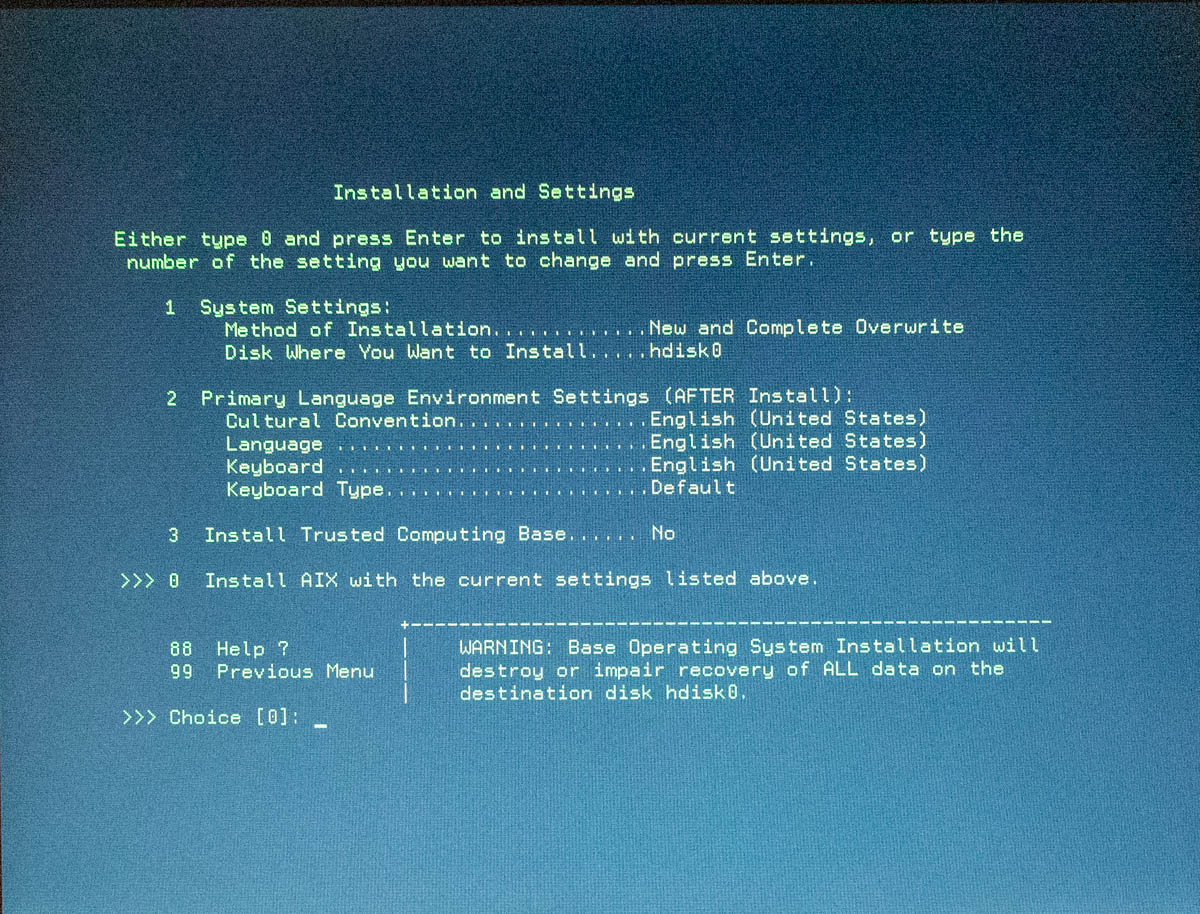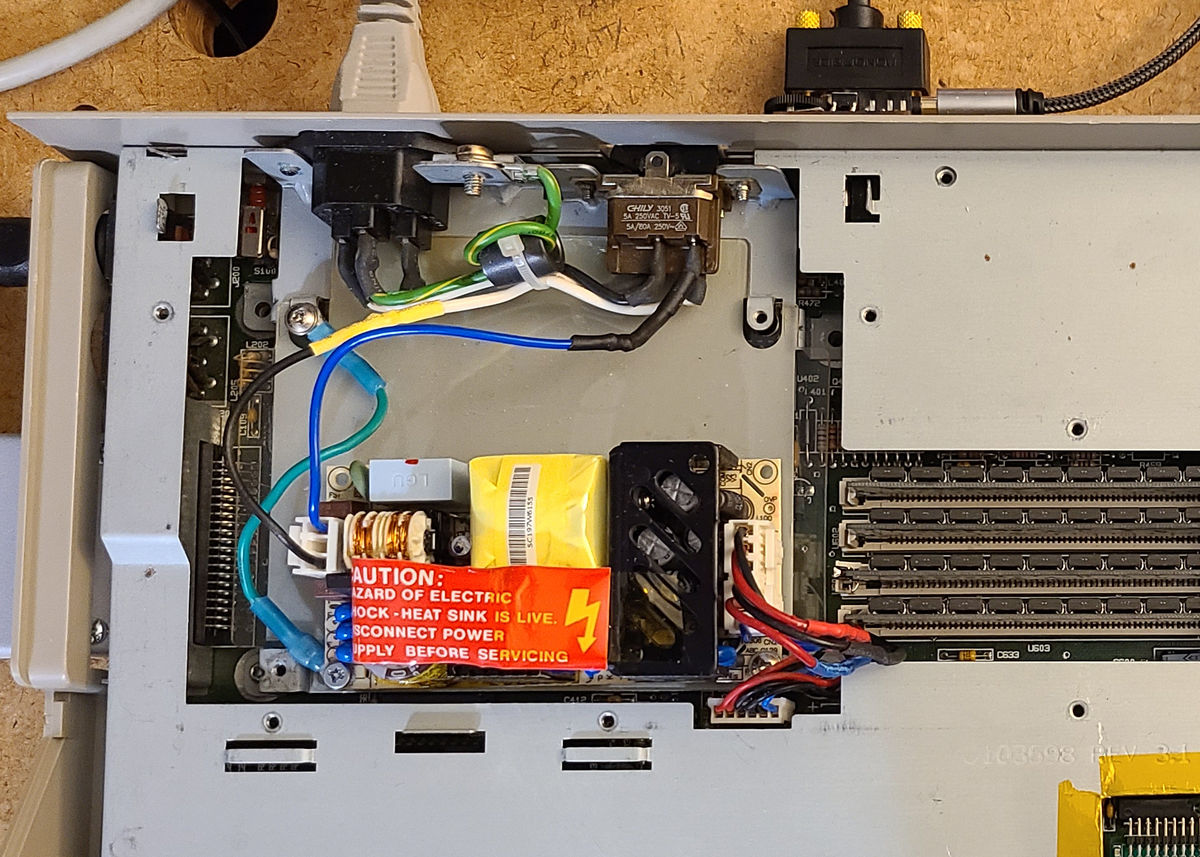
In an earlier post, I talked about how to install AIX 4.2 on an RS600 ThinkPad. Here are some customizations you might want to try out after you have the operating system installed.
Enable the FTP Server
You’re going to need a way to transfer files back and forth. You can start the FTP server from a Terminal window by su’ing to root and running the following startsrc command, as in:
$ su
root's Password: ********
# startsrc -t ftp
# exit
$
After you’ve done that, you can use an FTP client to transfer files back and forth. You may need to use an FTP client that supports passive mode, which rules out the built-in Windows FTP client. Linux, Mac, and Windows Subsystem for Linux clients should all be fine (abridged session output shown below):
$ ftp tp850.home
Name (tp850.home:bjepson): bjepson
331 Password required for bjepson.
Password: ********
230 User bjepson logged in.
Remote system type is UNIX.
Using binary mode to transfer files.
ftp> passive
Passive mode on.
ftp> ls -l
227 Entering Passive Mode (192,168,1,244,4,128)
150 Opening data connection for /bin/ls.
total 2178
-rw-------   1 bjepson  staff        198 Jul 23 21:42 .Xauthority
drwxr-xr-x  10 bjepson  staff        512 Jul 23 21:43 .dt
-rwxr-xr-x   1 bjepson  staff       3970 Jul 10 16:16 .dtprofile
-rwxr-----   1 bjepson  staff        442 Jul 13 22:01 .profile
-rw-------   1 bjepson  staff       5556 Jul 24 15:21 .sh_history
-rw-r--r--   1 bjepson  staff      86439 Jul 23 19:03 smit.log
-rw-r--r--   1 bjepson  staff       3988 Jul 23 19:02 smit.script
226 Transfer complete.
Expand the Size of Your Home Directory
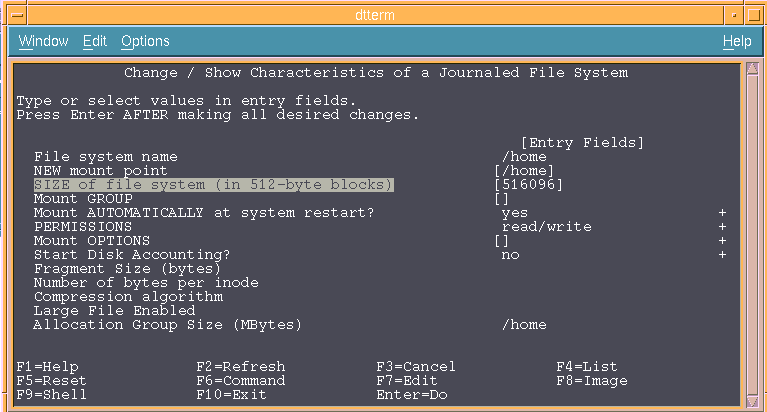
By default, AIX is configured to only use part of the available disk space. In general, when you use the AIX SMIT (System Management Interface Tool) utility to install software, it will expand your filesystem size as needed. However, if you are going to use your home directory to transfer files back and forth, you will need to increase the disk space. The smitty chfs command lets you adjust the file system size. From a terminal window (or over a telnet session), run the command su -c smitty chfs and type your password when prompted. This will start the text (tty) mode version of SMIT. To resize the /home partition:
- Choose Change / Show Characteristics of a Journaled File System and press Enter or Return.
- Move the cursor to
/homeand press enter. - Move the cursor to the “SIZE of the file system” field and type in the size of the filesystem that you want to use. If you are thinking in kilobytes, then you should double the size you want because SMIT uses 512-byte blocks
- Press Enter or Return, and smit will try to expand the filesystem to the requested size.
Install Precompiled Freeware
Bull Freeware (now closed) provided a lot of precompiled binaries of open source software for AIX. Although the website is now shut down, you can access the repository from the Internet Archive. For AIX 4.2, you can use binaries from the aix41 and contrib directories. You will need to download the software from a different computer because AIX 4.2 is not going to support a modern web browser. Here’s how to download and install a package from Bull Freeware:
- Locate the
exefile that you want and download it to your computer. - Use ftp to transfer the file to the ThinkPad. Be sure to use binary mode and also passive mode.
 $ ftp tp850.home
 Name (tp850.home:bjepson): bjepson
 331 Password required for bjepson.
 Password: *******
 ftp> binary
 200 Type set to I.
 ftp> passive
 Passive mode on.
 ftp> put unzip-5.32.0.0.exe
 local: unzip-5.32.0.0.exe remote: unzip-5.32.0.0.exe
 227 Entering Passive Mode (192,168,1,244,4,177)
 150 Opening data connection for unzip-5.32.0.0.exe.
 226 Transfer complete.
 278093 bytes sent in 0.16 secs (1.6705 MB/s)
- Open a shell on the ThinkPad either by opening a terminal in CDE or telnetting into the ThinkPad. Change directory (cd) to wherever you downloaded the file. Then, make the file executable with the chmod command, as in:
chmod +x unzip-5.32.0.0.exe
- Run the file by prefixing it with the ./ (tells the shell to look for the file in the current directory), which will expand it into a
.bfffile:$ ./unzip-5.32.0.0.exe UnZipSFX 5.32 of 3 November 1997, by Info-ZIP (Zip-Bugs@lists.wku.edu). inflating: unzip-5.32.0.0.bff
You can use SMIT to install the .bff file. You will have more happiness if you move it into another directory and don’t let your .bff files clutter up your home directory. So you could make a downloads directory with mkdir ~/Downloads and move the .bff file there with:
mv unzip-5.32.0.0.exe ~/Downloads
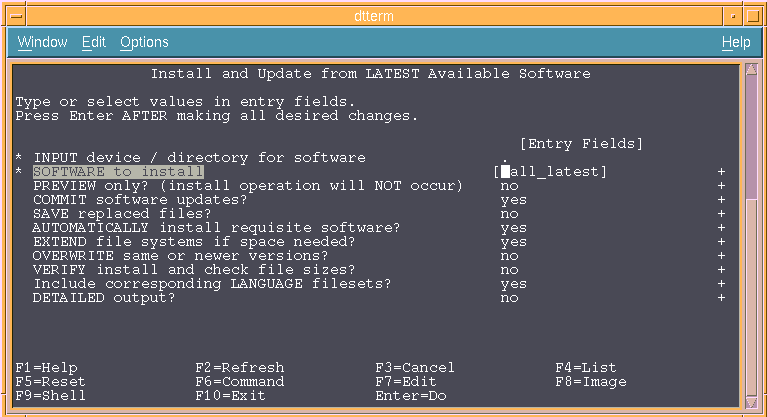
After you move the file, cd to whereever you put it, remove any lingering .toc file (these will be created each time you install software with SMIT from that directory), and run SMIT’s install_latest command:
$ cd ~/Downloads
$ su -c rm -f .toc
root's Password: ********
$ su -c smitty install_latest
root's Password: ********
Next:
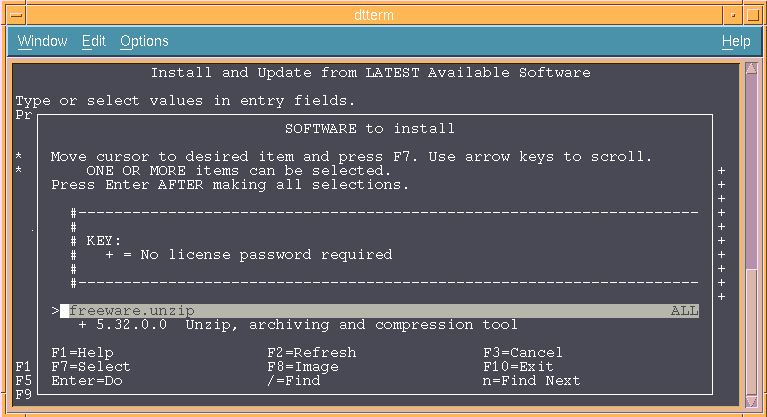
- When prompted for an “INPUT device / directory for software”, type
.(for the current directory) and press Enter. - Make sure the cursor is on “SOFTWARE to install” and press the keystroke (listed at the bottom of the screen) for List, which is likely to be F4.
- Scroll down to the software you want to install, and use the keystroke for Select (usually F7) to select the software.
- Press Enter when you’ve selected all the software you want to install, then press Enter to run the installation (and press Enter again when prompted to confirm that you want to install the software.)
NOTE: you might run into some dependencies on system software that you haven’t yet installed, such as development tools. In this case, you will need to install software from the CD-ROM image. You can repeat the same steps just shown, but instead of typing . for the current directory, specify the CD-ROM drive. It will either be /dev/cd0 or /dev/cd1, so you may need to try each of these and then use the List command (F4).
If you get an eror that you can’t mount the device, it means you picked the wrong one. If you get a list of software instead, then press / on your keyboard to search the list of software. Select and install the software that you need and then try installing the .bff file again using the steps listed previously.
To Change Your Shell
There are several (very relatively speaking) modern shells available from Bull Freeware, such as GNU Bash. If you want to change your shell, you should first edit the file /etc/security/login.cfg as root (using vi or another editor), and (carefully) add your shell (such as /usr/local/bin/bash) to the list. This is similar to adding the shell to /etc/shells on other systems, and if you don’t add the shell, your user might get locked out of ftp access. You can change your shell by editing the /etc/passwd file as root or running smitty chuser as root and following the prompts.
Remote Desktop Access
Your best bet for remote access to the ThinkPad is via VNC, mainly because there are a lot of proprietary fonts on AIX. You can find a version of VNC in the Bull archive’s contrib folder. You can follow any of the many tutorials (such as this one) to set up VNC after you install it. I could not get vncserver from the Bull archive to work out of the box. It didn’t start any clients unless I added this line to the top of the ~/.vnc/xstartup file after the shebang line:
export DISPLAY=`hostname`$DISPLAY
If that doesn’t work, check the hostname in your Xauthority and use that instead:
$ xauth -f .Xauthority
Using authority file .Xauthority
xauth> list
tp850.home:1  MIT-MAGIC-COOKIE-1  41ec8ceec5de8f8d5f878f76aa362ed8
tp850/unix:1  MIT-MAGIC-COOKIE-1  41ec8ceec5de8f8d5f878f76aa362ed8
xauth>
Basically, the hostname in the DISPLAY variable needs to match whatever .Xauthority is using, and it doesn’t seem to do this correctly by default.
Helpful Resources
Here are some sources that I consulted frequently while trying to make sense of how to work with this strange machine:
- The comp.unix.aix newsgroup archives. Most recent posts are spam, but go back a few decades, and it’s pure gold!
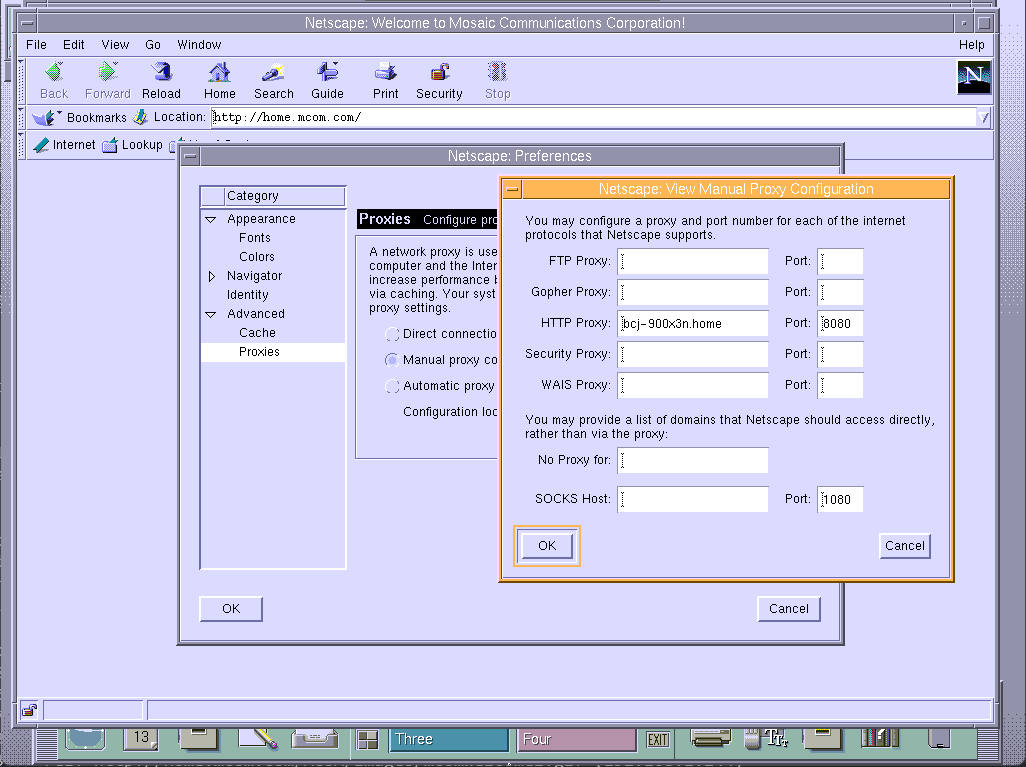
- jwz’s Mozilla archive. You’ll probably need to use a vintage web proxy like Web Rendering Proxy or WebOne to get anything to work well, though.
- Installing AIX 4.3.3 on an IBM RS/6000 43P Model 100 (7248-100). It’s a different machine, but many of the basics are the same.
- IBM ThinkPad Power Series 850 at OS/2 Museum
- ps-2.kev009.com. Lots of good info on this and similar machines.